|
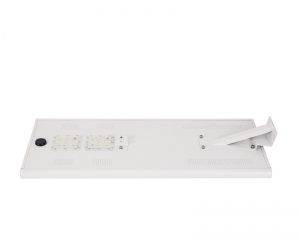
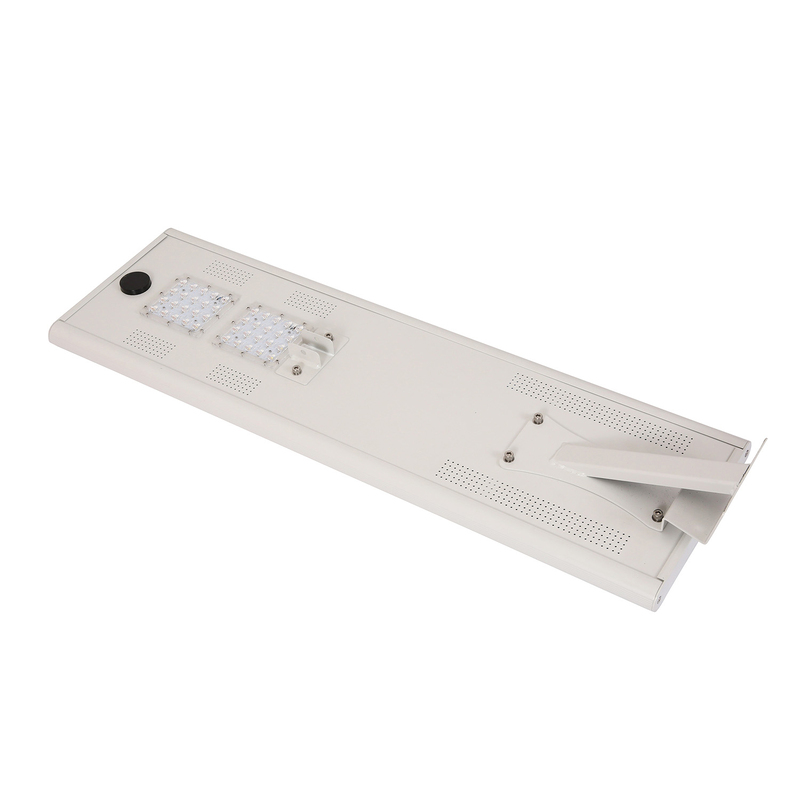
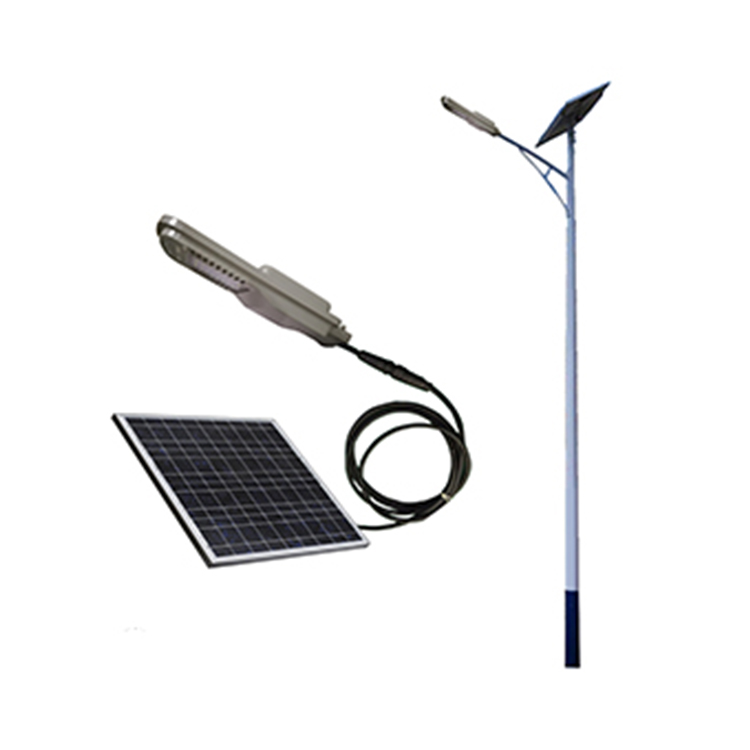
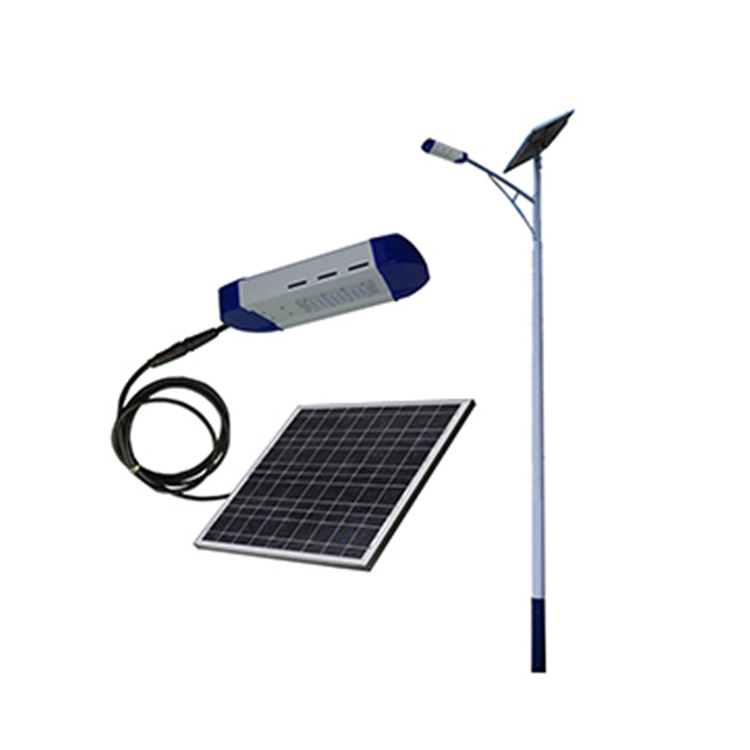
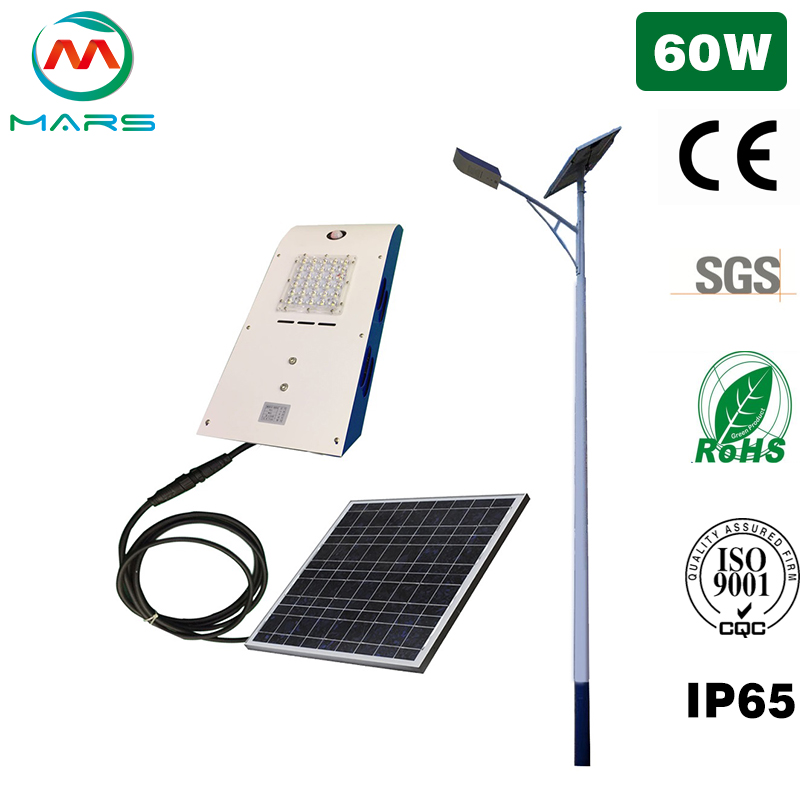
Connect stand alone solar street light controller is a important part for the stand alone solar street light installation.The output line of the solar cell, the output line of the lam, and the connection line of the battery. These three sets of lines must be connected to the stand alone solar street light controller. The connection sequence is: 1.Connect the battery; 2.Connect the load (light source); 3.Connect the solar cell (operate according to the installed controller requirements). If this wiring sequence is violated, the entire system will not work properly. Connect the stand alone solar lights battery first.Firstly measure the voltage of the battery, within the specified range, and then connect the positive and negative of the battery. After the wire are connected, insert the positive pole into the battery "+" terminal marked on the controller, and tighten the screw. The negative pole is connected in the corresponding "-" terminal terminal. Whether there is voltage, pay attention to the operation when wiring, do not let the positive and negative terminals of the battery cause short circuit. After the stand alone solar lights battery is connected to the stand alone solar lights controller, the stand alone solar lights controller starts to work and the corresponding battery indicator lights up. After ten minutes, the output of the luminous solar street light should have a voltage, luminous solar street light is connected, and the light source is immediately illuminated.Then connect the luminous solar street light and unplug the protective wire of the light source. The red line is the positive pole and the black is the negative pole. Connect them to the luminous solar street light terminals of the controller (in the light source "+" and "-" terminal holes marked on the controller). Note: The positive and negative poles cannot be connected incorrectly, otherwise the street lamp solar may be damaged. After the street lamp solar is on, it takes another one or two minutes to connect the solar panels.Finally connect the solar panels. Unplug the protective cover of the solar panel. The red line is the positive pole and the black line is the negative pole. First measure the voltage between the lines. When the light is weak, the voltage is lower. The open circuit voltage of the component should be greater than 18 volts (12 volt system) or 36 volts (24 volt system). The positive and negative poles of the solar cell are not afraid of short-circuiting for a short time, and the two wires of the solar cell are connected to the corresponding terminals of the street lamp solar controller. Note that the positive and negative poles cannot be connected incorrectly. After the street lamp solar controller is connected to the solar cell, if there is enough voltage on the solar panel (10 volts or more), the controller considers it to be in a bright state. After ten minutes, the street lamp solar will be turned off. When you turn on the lights, you have to wait until it is dark. |
-
 How To Choose Smart Solar Street Lamp Manufacturer?MARS SOLAR have 10+years solar street lamp manufacturer experience,manufacture street solar led lights.More than 3000 successfully cases have installed in 130+countries.More information,pls contact us diretly!
Do you like ?0
Read more -
 City Street Lights And Solar Parking lights, Which one Is More Suitable For Rural Lighting?MARS SOLAR have 10+years led solar light manufacturers experience,manufacture solar parking lights.More than 3000 successfully cases have installed in 130+countries.
Do you like ?0
Read more -
 The Inside Story Of The Price Of Solar Lamp Post Lights Was ExposedMARS SOLAR have 10+years solar street lamp manufactruers experience,manufacture solar lamp post lights.More than 3000 successfully cases have installed in 130+countries.More information,pls contact us directly!
Do you like ?0
Read more -
 How To Set The Distance Between Solar Street Light Pole?MARS SOLAR have 10+years solar street light manufacturer experience,manufacture solar street light pole.More than 3000 successfully cases have installed in 130+countries.
Do you like ?0
Read more -
 What Are The Benefits Of Using Solar Energy For Solar Post Lights?MARS SOLAR have 10+years solar street lamp manufacturer experience,manufacture solar post lights.More than 3000 successfully cases have installed in 130+countries.
Do you like ?0
Read more -
 What Is The Power Generation Efficiency Of Led Solar Street Light 60W?MARS SOLAR have 10+years solar street light manufacturer,manufacture led solar street light 60w.More than 3000 successfully cases have installed in 130+countries.More information,pls contact us directly!
Do you like ?0
Read more